
“The Singular Case of Pane di Altamura.” Am I referring to a Sherlock Holmes mystery, perhaps?
No, indeed. Something even better: a bread-baking adventure.
Months ago, I purchased Daniel Leader’s newest book, Local Breads: Sourdough and Whole-Grain Recipes from Europe’s Best Artisan Bakers. The book has its problems, but it is still a treasure trove of wonderful bread recipes by some of the best bread bakers in France, Germany, Poland, Italy, Austria, and the Czech Republic. Best of all are Leader’s fascinating descriptions of these breads and his desire to learn all that he could about them. I actually read this book on the elliptical machine and in the tub – it’s like The Da Vinci Code
for bread bakers!
One chapter captured my attention and held me in thrall: The Singular Case of Pane di Altamura. I’m not really sure why, but the description of this bread and its history captivated me. ” . . . enormous, crudely shaped loaves the color of the sun, made with 100 percent semolina flour . . . .” Local Breads, p. 246. The Italian government has awarded the bread a prestigious DOP (denominazione di orgine protetta) designation, which is “reserved for agricultural and food products hose properties are essentially or exclusively derived from their geographical environment.” Local Breads, p. 247.
Recently, I decided to tackle Pane di Altamura, and an interesting adventure it was. For one thing, bread dough mysteriously has made it way onto my kitchen walls, cupboards, and other nooks and crannies. How did that happen? But I digress.
The Sourdough
The first thing I had to prepare was the semolina sourdough, which is made with yogurt and no added yeast. You mix 1/4 cup of tepid spring water (57 g), with 1/2 cup of fine durum semolina flour (70 g), and 2 Tablespoons (28g) of yogurt (low or nonfat is fine) with active yogurt cultures, preferably organic. You keep feeding the sourdough 1/4 cup of spring water and 1/2 a cup of semolina, without tossing off, for up to 10 days, until the sourdough is bubbly and frothy. This yields a dough-like sourdough, not a very liquid one.
On day 8, my starter was bubbly and frothy, or so I thought, so I made the bread. After six hou rs, this is the rise I got, which is to say . . . about zilch, as you can tell from the picture to the right.
I had just gone through a rather alarming amount of semolina, so there was no way I was throwing this out. This batch of dough currently resides in my freezer, soon to be made into focaccia. I split the remaining sourdough, fed both batches, put one in the refrigerator, and left the other one on the counter overnight. I fed the latter batch again before going to bed.
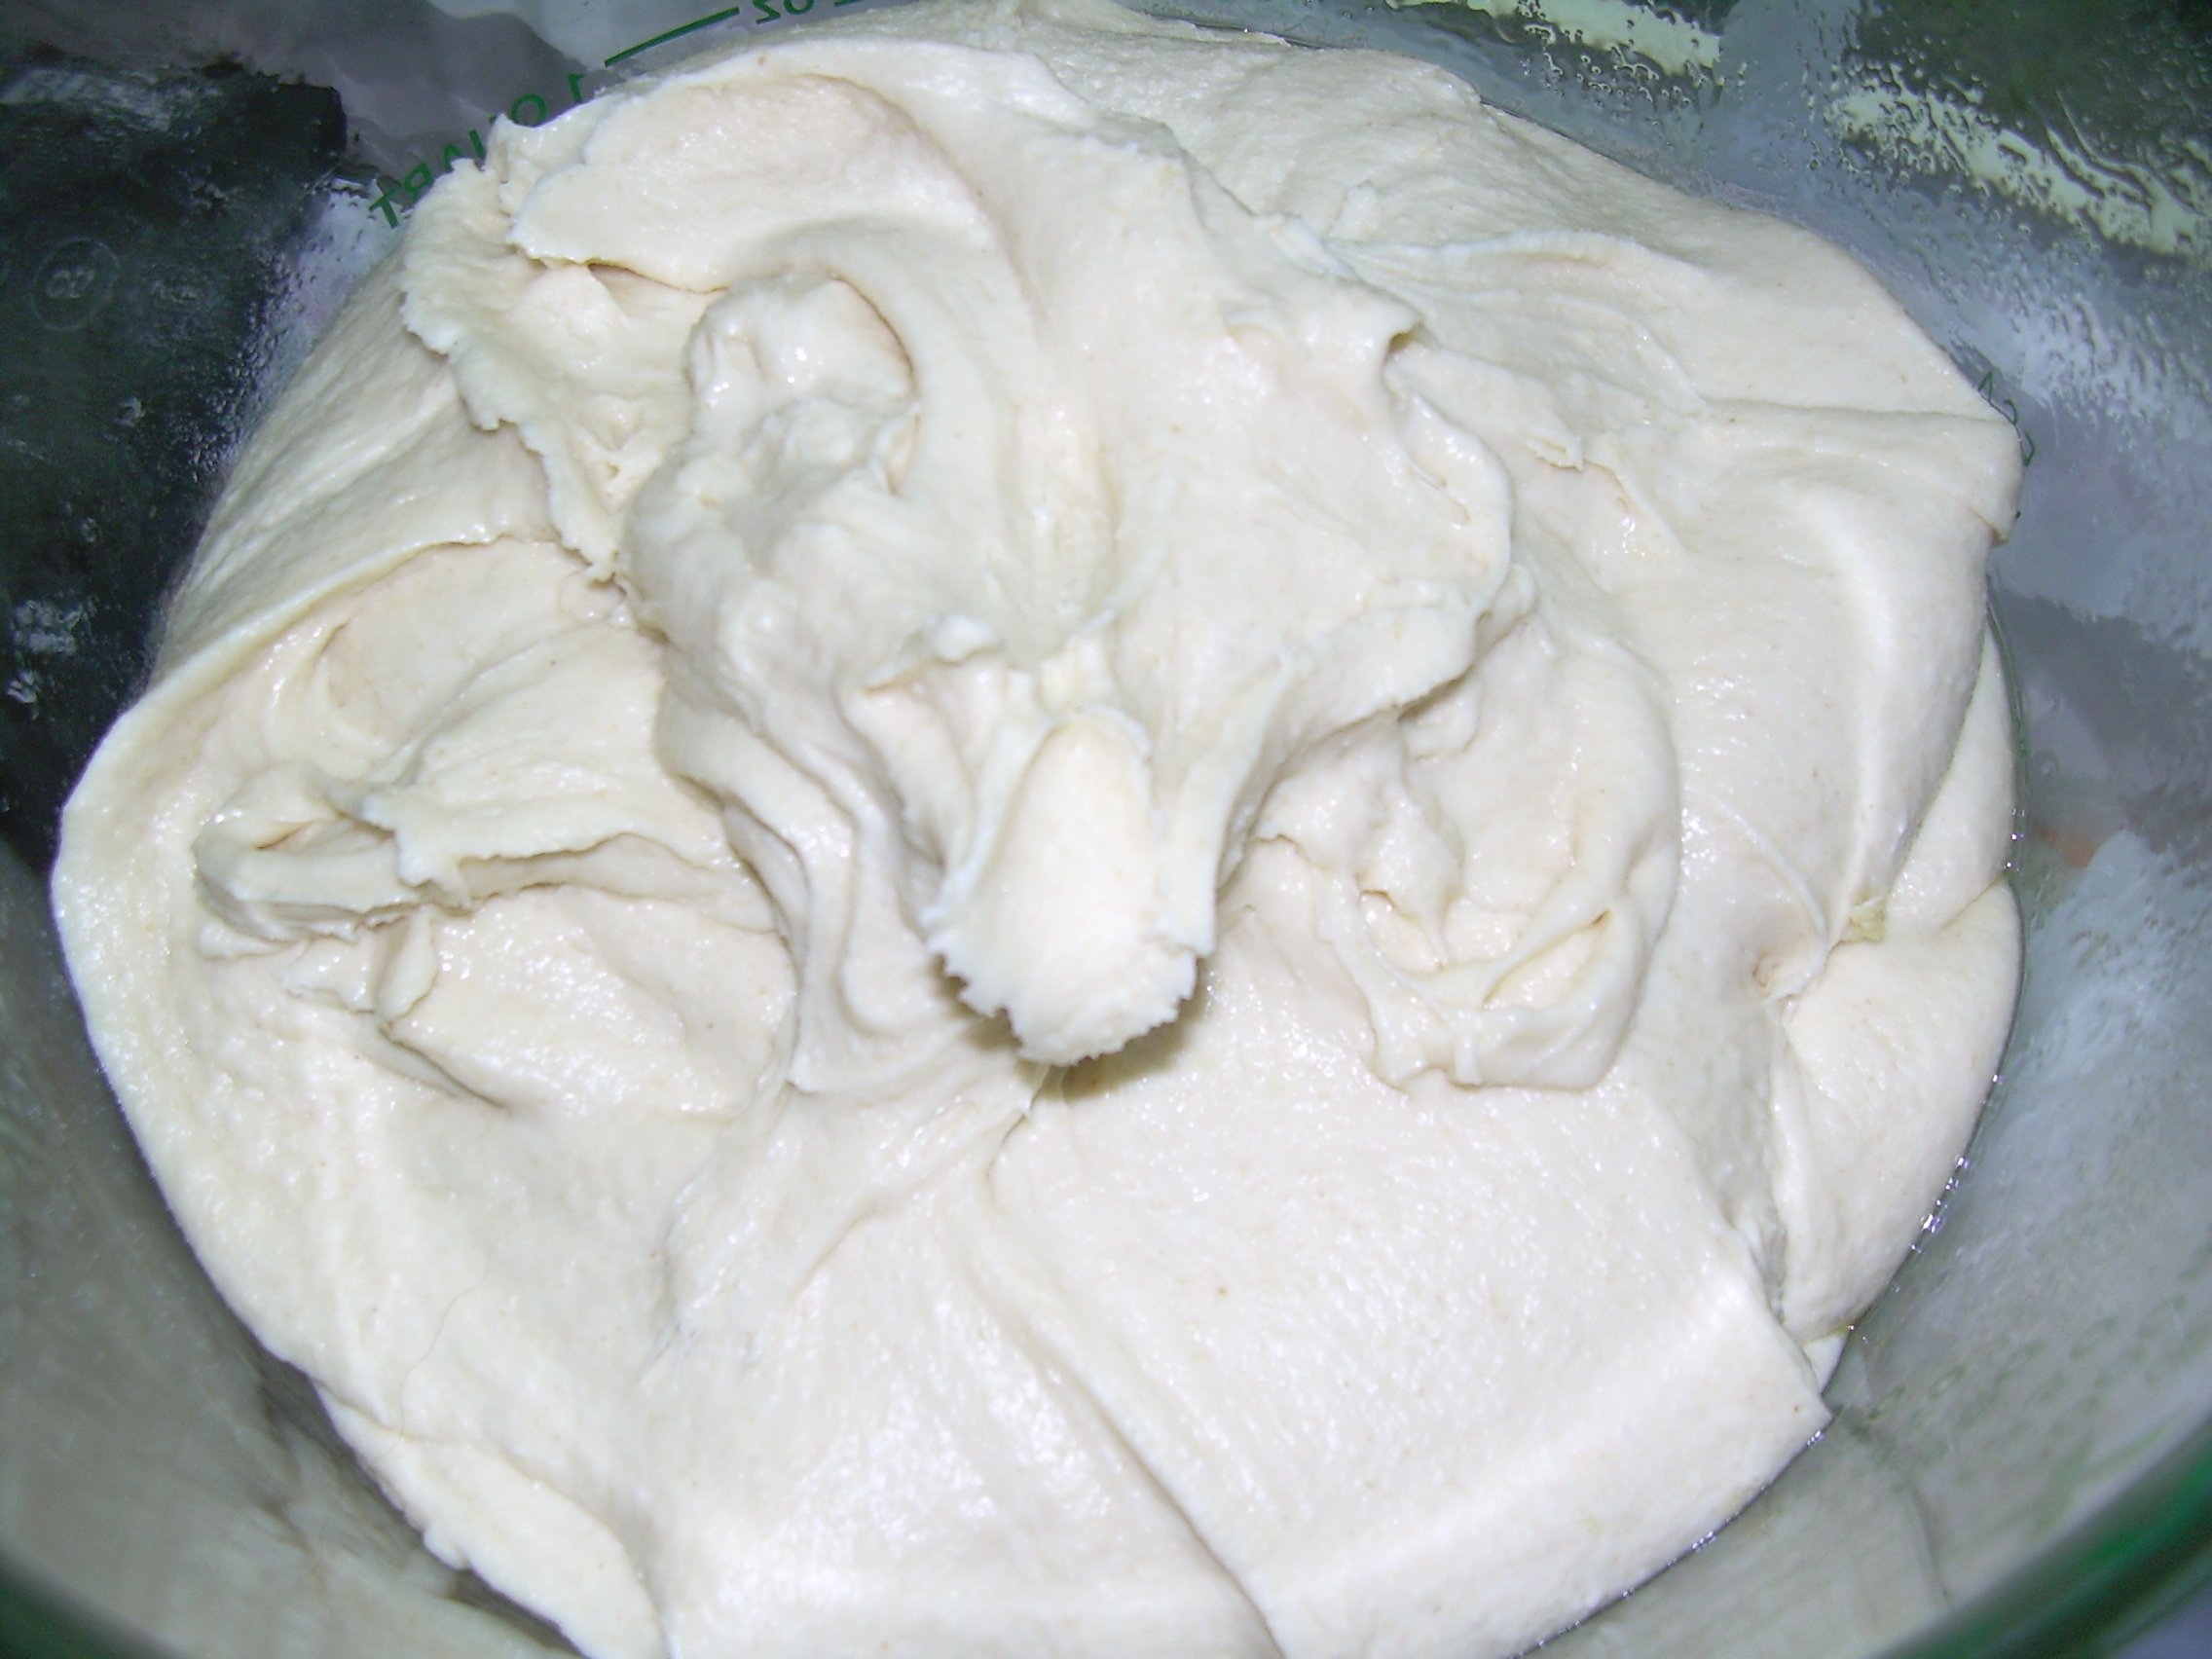
 Determined to tackle Pane di Altamura again, I arose to a new day and the sight of a very happy starter. It was bubbling and gurgling, and seemed a lot more active after I’d halved it.
Some more notes on the sourdough: First, the book says that it will turn a brilliant yellow. To me, that means canary yellow, but my starter always remained a pale yellow. Second, between feeding the sourdough and baking the first batch of bread (the dud), I went through about 3.5 pounds of flour. I started with a 3 pound bag of King Arthur durum semolina, and ended up with Bob’s Red Mill durum semolina. Don’t even start this bread unless you have about 5 pounds of flour on hand, just in case, which is what I ended up using in total.
The Dough
After some research, I learned that one baker had to ferment another dough in Leader’s book (for Pierre Nury’s Rustic Light Rye) for seventeen hours. SEVENTEEN HOURS. I decided to make the dough again, and wait it out and see what would happen. On the day after I split the starter, I fed it in the morning, and whipped up another batch of dough later that afternoon.
I mixed the dough for about 20 minutes, not the 10 stated in the recipe. I would stop the stand mixer every once in a while and just let the dough rest, then I’d come back. If I had to add more flour, I did so judiciously. I’ve made this three times so far, and the dough should feel very dense, and a bit tacky, but still moist – like pizza dough.

I should mention that when I made my first dud batch, I weighed everything on my kitchen scale. By the next day, my patience was wearing a tad thin, so I measured everything with U.S. measuring cups, and added flour by feel as I went along. I can’t really explain how I did this, I can only say that I was going to make this bread as many times as I needed to get it “right,” so I was willing to make mistakes. I really encourage novice bread bakers to go for it – there is no “test,” and you learn so much if you are willing to experiment. And you can always turn the duds into bread crumbs.
About four hours after I set the dough aside to proof, I casually walked into the kitchen to check on it, fully expecting to see nothing much happening. Well, the thing was alive, almost to the top of the bowl! So, I tossed it in the refrigerator overnight and hoped for the best (it was 10 p.m. by this time).
At 5:45 the next morning I launched myself out of bed. “What are you doing?” asked Master Chow. “I have to check on my bread!” I yelled as I ran for the stairs. “NOW?” he asked. Well . . ., yes. If you like to bake bread, I’m sure you’ll understand.
I completely skipped the step that called for a second proofing inside a kitchen towel and just formed the dough into the traditional Altamura loaf. In case you’re wondering what the dough feels like, it is just like cold pizza dough. The strands of gluten are amazing:

I proofed the dough for a couple more hours at room temperature, baked it, and ended up with the loaf at the top of this post. I have no idea what the bread should taste like, or what the crumb should look like, I can only tell you that it reminded me and my husband of San Francisco sourdough, which I like a lot. It’s not a bread I see myself baking again – as a loaf of bread – but I think it will make a great pizza. Look for a post on that in the near future.

I took a look around my kitchen, and I knew that there was no way I was going to toss out all that beautiful semolina sourdough. So I made two more batches of dough -and they both proofed beautifully! One batch is in the freezer to be made into focaccia (along with my first dud), and the second I turned into an Altamura peasant loaf, pane del contadino. I proofed this one inside the towel before shaping:

I had a great time experimenting with this bread. I had never made a semolina sourdough bread before, so I didn’t know what to expect, and had to rely on my own instincts and judgment. It was a real confidence builder – I encourage all you novice bakers out there to make the leap and bake some bread. It is immensely satisfying! I’m submitting this for Susan’s weekly YeastSpotting roundup at Wild Yeast Blog. Recipe after the jump . . .
Pane di Altamura
Adapted from a recipe by Daniel Leader in Local Breads1 cup/200 g semolina sourdough (see above)
1-1/2 cups/350 g water, tepid (70-78F)
3-1/4 cups (or more)/500 g fine durum semolina flour (I ended up using up to 1.5 cups more flour, depending on my batch of dough)
3 teaspoons/22.5 g sea saltPut the sourdough into a stand mixer, and pour the water over it, and mix with a spatula to loosen. There may be globs of sourdough. Add the flour and salt.
Using the dough hook, set the KitchenAid on medium speed (about #4), and mix until the dough stiffens, and is slightly tacky. You do not want a smooth, dry dough, so be careful as you add the flour. DO NOT LEAVE THE MIXER UNATTENDED OR IT WILL WALK OFF THE COUNTER TOP!
Transfer the dough to a clear oiled container and cover. Let rise at room temperature (about 70-75F) until doubled. This may take about 3 to 4 hours depending on the temperature in your kitchen. My kitchen was 80F.
Uncover the dough and turn onto a floured counter. Shape it into a round, and dust with semolina flour. Place the round into the center of a floured, clean dry kitchen towel, and tie the opposite corners together to make a snug bundle. Let rise for 1.5 to 2 hours, until it balloons. When you push your finger into the dough, your fingerprint should spring back slowly.
One hour before baking, place a baking stone in the oven on the middle rack, a cast iron skillet on the lower rack, and set the oven to 400 degrees F.
To shape the loaf: dust a peel or a rimless baking sheet with semolina flour, or line with a piece of parchment (that is what I did – it’s a lot easier to transfer the bread that way). Untie the loaf and place it on the parchment. Stretch the loaf into a long, thin rectangle, about 6 by 16 inches. Rotate the dough 90 degrees so that the short side is in front of you. Fold the bottom edge to meet the top, and press and seal the dough all around. Next, bring the folded edge in front of you three quarters of the way to the top, so that it forms a lip. Seal the seam all around, flattening the protruding edge of the dough. It should be shaped like an arc.
Slide the loaf onto the baking stone in the oven. Place 1/4 cup of ice cubes in the skillet to produce a light steam. Bake the loaf until it is a golden brown for about 40 to 50 minutes. Mine never turned the deep mahogany color described in the book, but they ranged in temperature between 200 and 208 degrees F, and sounded hollow when tapped on the bottom.
Transfer the loaf to a wire cooling rack and allow to cool for about one hour before slicing. It can be left in a paper bag at room temperature for about 5 days (I tested this, and while it became a tad stale, it was still fresher than most other home baked breads would be), or frozen for up to one month.


Related Articles
17 users responded in this post
How scrumptious! Sometimes the best snack is a slice of home-baked bread with jam.
Wow, nice going. I’ve been wanting to make this bread for a while, it sounds mighty tasty. I feel you on the early rising in the name of bread thing. I developed a habit of it myself.
Wow, what a lot of work.
The bread looks great though. I have this book and have made many of the loaves but not this one.
I have been a bread brat lately and have just been making my own amde up frankenstein breads with my rye starter.
I have to get back to learning proper techniques. Perhaps I won’t start with this one though!
I admire your persistence! I love the shape of the loaf and the color of the crumb, although not canary yellow, is just beautiful.
A fantastic read!
I’ve yet to attempt a starter. The memory of funny smells and constant feeds are fresh scars after all these years (I’m like an elephant, that way). Then again, it’ll be like having a pet, right?
Amazing, it looks fabulous though. A gorgeous loaf.
This bread looks awesome and well worth all the time it took. Beautiful Bread.
Wow, so ambitious! Great job, it looks great.
I love reading all your trials and tribulations with this bread. That’s why I love baking–I love to experiment and see what will happen. I’m trying to fit more bread baking into my schedule. I love to do it, but haven’t had much time lately.
I’m anxious to see the pizza when you try it. I love the look of an irregular loaf of bread. It looks so rustic and you know it’s going to be good.
Wow, what a process! I love how it turned out! Good luck with all the dough in the nooks and crannies of your kitchen, but it sounds like it was worth the trouble!
Shari@Whisk: a food blog
Wow – good job!
[…] Pane di Altamura ~ Madam Chow’s Kitchen […]
[…] Original mzkitchen.com […]
[…] couple weeks ago, I posted my experiences making Pane di Altamura. I took some of the dough and made it into focaccia and pizza (the recipe for it is the same for […]
You are so right on the money with this post! I really does pay in triple to bake a bread more than once!
I’ve not made this one but I’m very interested now! Looks beautiful! The focaccia looks divine!
Yes I understand why you would launch yourself out of bed so early, bread baking does that to us.
It is a wonderful book. His stories are a delight and his passion really shines through.
[…] baking bread almost exclusively with some lazy sourdough starters, some of my breads have taken up to 17 hours to rise. This one had no such problem. I also baked it in an 8×4-inch pan instead of a […]